Stack
在flutter中,Stack表示堆的意思,可以用来实现页面的定位布局。
Stack组件接收两个可选参数:
- alignment:配置所有子元素的显示位置
- children:子组件
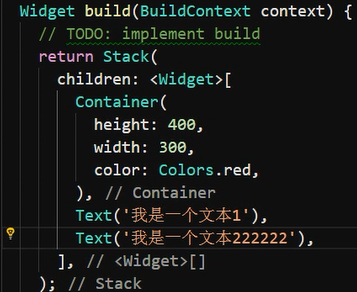
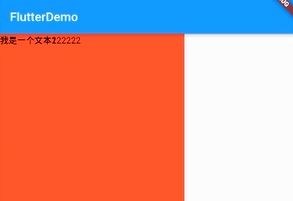
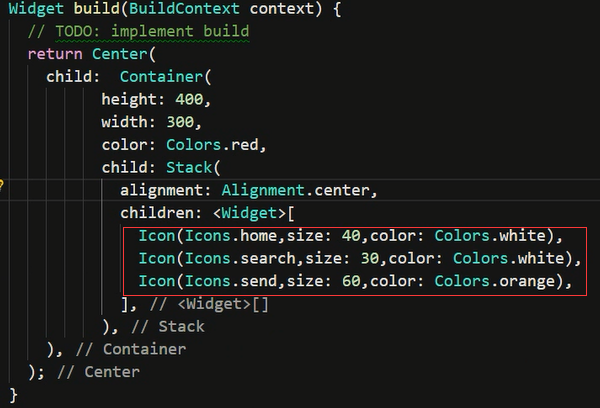
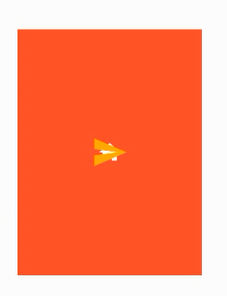
在上面的Stack组件里面定义了一个Container和两个Text组件,我们会发现这三个组件实现了重叠,并且后定义的在上层,这就是所谓的堆效果,
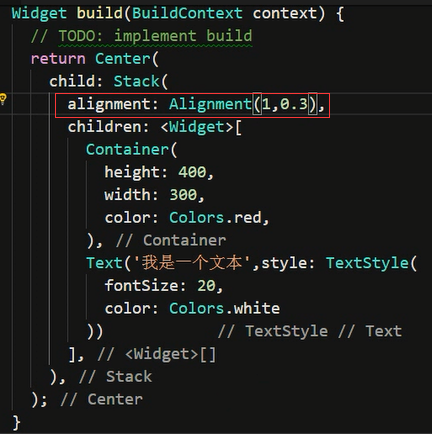
import 'package:flutter/material.dart';

void main() => runApp(MyApp());

class MyApp extends StatelessWidget {
  @override
  Widget build(BuildContext context) {
    // TODO: implement build
    return MaterialApp(
        home: Scaffold(
      appBar: AppBar(title: Text('FlutterDemo')),
      body: LayoutDemo(),
    ));
  }
}

class LayoutDemo extends StatelessWidget {
  @override
  Widget build(BuildContext context) {
    // TODO: implement build
    return Center(
      child: Stack(
        alignment: Alignment.center,
        children: <Widget>[
          Container(
            height: 400,
            width: 300,
            color: Colors.red,
          ),
          Text('我是一个文本',style: TextStyle(
            fontSize: 40,
            color: Colors.white
          ))
        ],
      ),
    );
  }
}
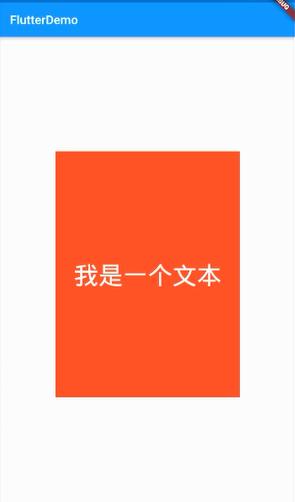
在上面的例子中,我们给alignment的值是Alignment.center,除此之外,还有Alignment.topLeft等,另外,它也可以接收两个double类型的值,介于-1到1之间:(0,0)表示中心点,(1,1)表示右下角,(-1,-1)表示左上角。
Stack Align
Stack 组件中结合 Align 组件可以控制每个子元素的显示位置 。
和上面的例子一样,当我们在Stack组件里面定义了多个子元素的时候,会发生重叠,即使使用了alignment进行了定位,也是对所有的元素统一定位,这个时候就可以借助Align来控制每个子元素的位置。
Align也有两个可选参数属性:
- alignment :配置所有子元素的显示位置
- child :子组件
现在,我们可以这样修改上面的例子:
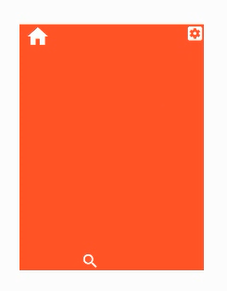
import 'package:flutter/material.dart';

void main() => runApp(MyApp());

class MyApp extends StatelessWidget {
  @override
  Widget build(BuildContext context) {
    // TODO: implement build
    return MaterialApp(
        home: Scaffold(
      appBar: AppBar(title: Text('FlutterDemo')),
      body: LayoutDemo(),
    ));
  }
}

class LayoutDemo extends StatelessWidget {
  @override
  Widget build(BuildContext context) {
    // TODO: implement build
    return Center(
      child:  Container(
            height: 400,
            width: 300,
            color: Colors.red,
            child: Stack(
              // alignment: Alignment.center,
              children: <Widget>[
                Align(
                  alignment: Alignment(1,-0.2),
                  child: Icon(Icons.home,size: 40,color: Colors.white),
                ),
                Align(
                  alignment: Alignment.center,
                  child: Icon(Icons.search,size: 30,color: Colors.white),
                ),
                Align(
                  alignment: Alignment.bottomRight,
                  child: Icon(Icons.settings_applications,size: 30,color: Colors.white),
                )
              ],
            ),
      ),
    );
  }
}

Stack Positioned
Stack 组件中结合 Positioned 组件也可以控制每个子元素的显示位置 。Positioned 有多个可选参数属性:
- top :子元素距离顶部的距离
-
bottom
-
left
-
right
-
child
我们也可以使用Positioned来实现上面Align的效果:
class LayoutDemo extends StatelessWidget {
  @override
  Widget build(BuildContext context) {
    // TODO: implement build
    return Center(
      child:  Container(
            height: 400,
            width: 300,
            color: Colors.red,
            child: Stack(
              // alignment: Alignment.center,
              children: <Widget>[
                Positioned(
                //  left: 10,
                  child: Icon(Icons.home,size: 40,color: Colors.white),
                ),
                Positioned(
                 bottom: 0,
                 left: 100,
                  child: Icon(Icons.search,size: 30,color: Colors.white),
                ),
                Positioned(
                  right: 0,
                  child: Icon(Icons.settings_applications,size: 30,color: Colors.white),
                )
              ],
            ),
      ),
    );
  }
}